 Creating a project plan can feel overwhelming, but it’s an essential step to set your project up for success. A well-crafted plan not only serves as a roadmap but also keeps everyone aligned and focused on shared goals. This guide breaks down the project planning process step-by-step, making it easy to follow and implement.
What is a Project Plan?
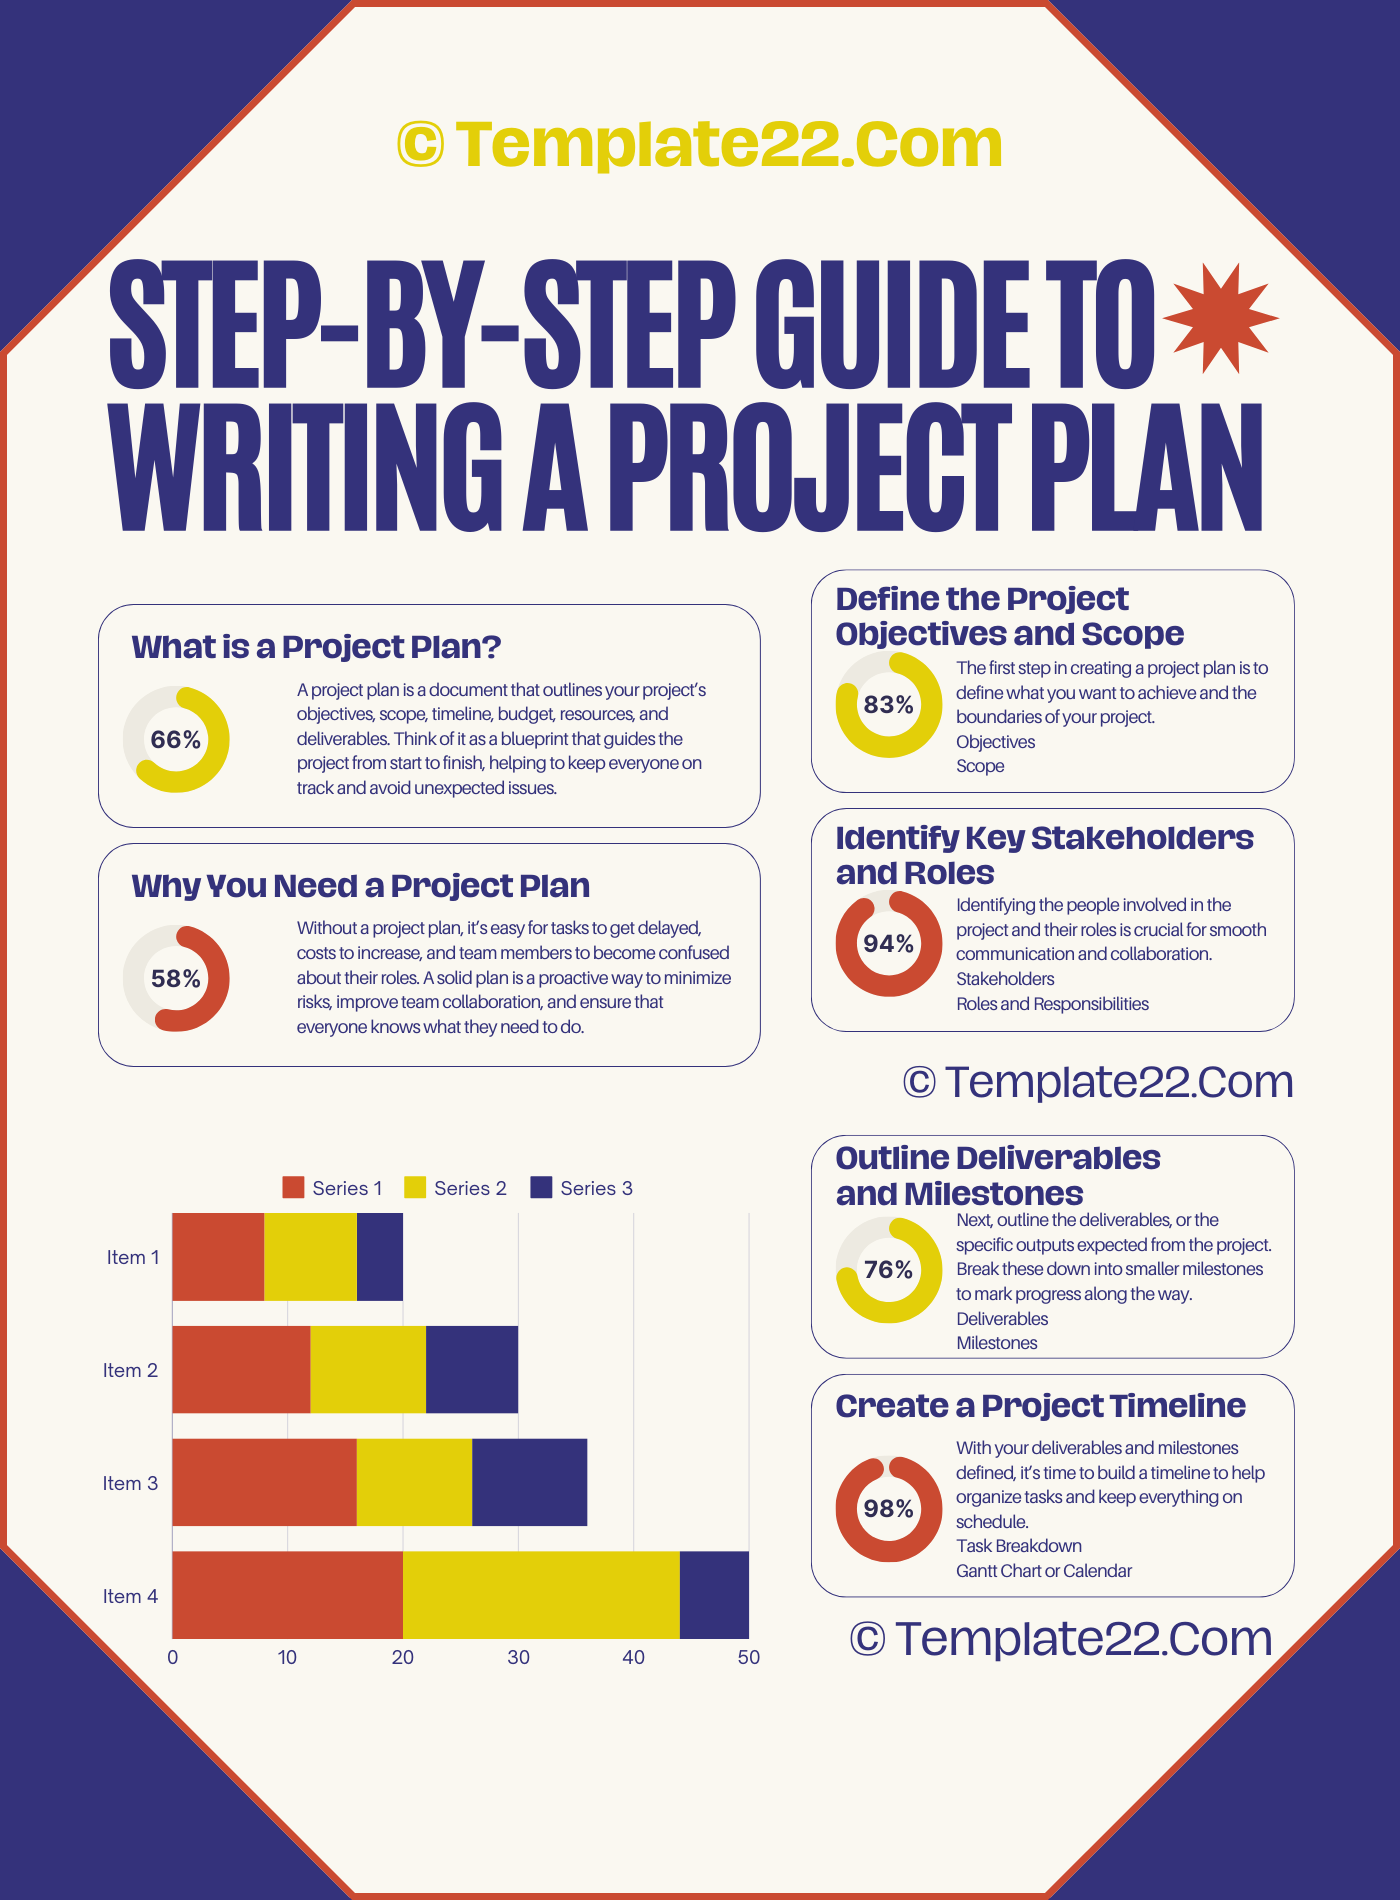
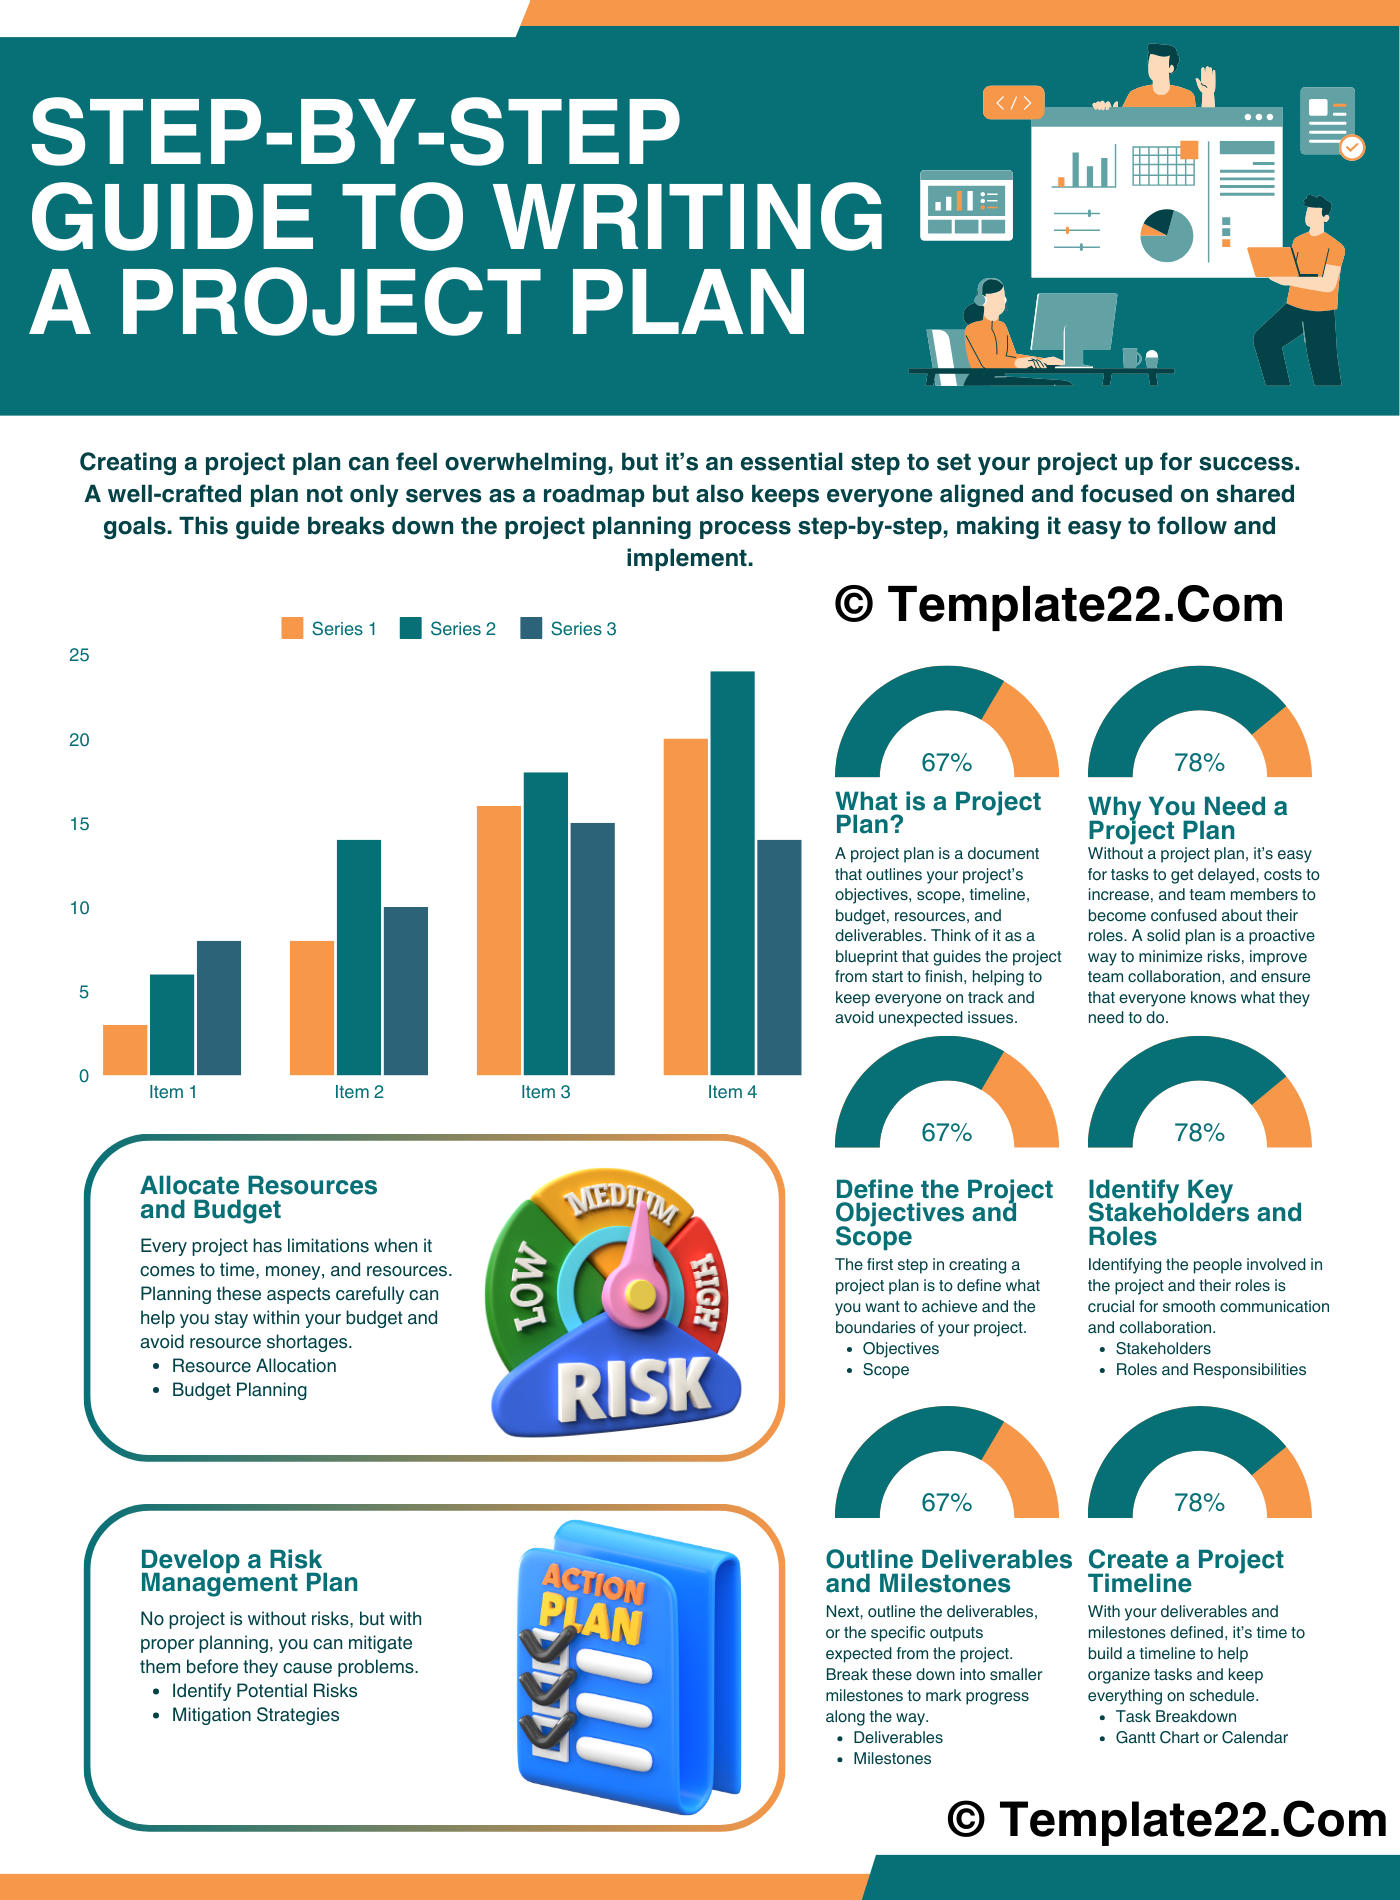
A project plan is a document that outlines your project’s objectives, scope, timeline, budget, resources, and deliverables. Think of it as a blueprint that guides the project from start to finish, helping to keep everyone on track and avoid unexpected issues.
Why You Need a Project Plan
Without a project plan, it’s easy for tasks to get delayed, costs to increase, and team members to become confused about their roles. A solid plan is a proactive way to minimize risks, improve team collaboration, and ensure that everyone knows what they need to do.
Step 1: Define the Project Objectives and Scope
The first step in creating a project plan is to define what you want to achieve and the boundaries of your project.
Objectives
Clearly outline the primary goals of the project. What are you trying to accomplish? Make sure your objectives are SMART: Specific, Measurable, Achievable, Relevant, and Time-bound.
Scope
Define the limits of your project. What will the project include, and just as importantly, what won’t it include? A well-defined scope helps avoid “scope creep,” where extra tasks and expectations pile up, often leading to budget and timeline overruns.
Step 2: Identify Key Stakeholders and Roles
Identifying the people involved in the project and their roles is crucial for smooth communication and collaboration.
Stakeholders
List everyone who has an interest in the project, including clients, executives, and team members. Understand their expectations and how they’ll be impacted by the project’s success or failure.
Roles and Responsibilities
Assign roles and responsibilities to each team member. Clarifying this upfront prevents confusion down the line and ensures everyone knows their part in the project.
CLICK HERE TO DOWNLOAD 300+ PROJECT MANAGEMENT TEMPLATES & DOCUMENTS IN EXCEL
Step 3: Outline Deliverables and Milestones
Next, outline the deliverables, or the specific outputs expected from the project. Break these down into smaller milestones to mark progress along the way.
Deliverables
Each deliverable should be clearly defined. For example, if you’re developing a website, a deliverable might be a fully functioning homepage. Describe each in detail so there’s no ambiguity about what’s required.
Milestones
Set milestones at key points in the project timeline, such as the completion of each phase or major deliverable. Milestones provide targets for the team and let stakeholders track progress.
Step 4: Create a Project Timeline
With your deliverables and milestones defined, it’s time to build a timeline to help organize tasks and keep everything on schedule.
Task Breakdown
Break each deliverable down into individual tasks and assign deadlines for each. This helps to distribute the workload evenly and prevents bottlenecks.
Gantt Chart or Calendar
Using a Gantt chart or project calendar can make it easier to visualize the timeline. These tools show which tasks overlap and provide a clear picture of what needs to be done and when.
Step 5: Allocate Resources and Budget
Every project has limitations when it comes to time, money, and resources. Planning these aspects carefully can help you stay within your budget and avoid resource shortages.
Resource Allocation
Determine the resources (such as team members, equipment, or software) required for each task. This helps in resource planning and makes sure everyone has what they need.
Budget Planning
Estimate costs for each phase of the project, accounting for everything from labor to materials. Create a budget that allows for a small contingency fund for unexpected expenses.
Step 6: Develop a Risk Management Plan
No project is without risks, but with proper planning, you can mitigate them before they cause problems.
Identify Potential Risks
List potential risks, such as delays, budget overruns, or changes in project scope. Thinking about these scenarios ahead of time helps you be prepared.
Mitigation Strategies
For each risk, outline strategies to minimize its impact. For example, if a resource shortage is a risk, have backup team members on standby.
Step 7: Establish Communication Protocols
Clear communication is essential for project success. Set up a plan to ensure that everyone is informed and updated.
Communication Channels
Decide on the channels you’ll use, like email, project management software, or weekly meetings. Consistency in communication helps everyone stay aligned.
Frequency of Updates
Determine how often updates will be shared with stakeholders and team members. Regular updates help keep everyone engaged and aware of project progress.
Step 8: Review and Finalize the Project Plan
Once all elements are in place, review the plan with your team and stakeholders. Make any necessary adjustments and ensure everyone is on the same page.
Get Approval
Seek final approval from stakeholders to confirm that everyone agrees with the project’s goals, timeline, and budget.
CLICK HERE TO DOWNLOAD 300+ PROJECT MANAGEMENT TEMPLATES & DOCUMENTS IN EXCEL
Distribute the Plan
After approval, share the finalized project plan with your team. Make it easily accessible, and encourage team members to refer to it as the project progresses.
Wrapping Up
Writing a project plan doesn’t have to be complex. By breaking it down into these steps, you can create a thorough, well-organized plan that guides your project toward success. Follow these steps, and you’ll have a clear, actionable project plan that keeps everyone on track and sets your project up to achieve its goals.
